Tor is an open-source project that is dear to me for many reasons. For those who are unfamiliar with it, in a nutshell, Tor can enhance your anonymity on the internet: it obscures who you are, and what sites you are visiting. This is important, especially for people who live and work in oppressive regimes where direct access to on-line social networking is restricted, and where your opinions can put your life at risk. Protecting free speech is important to me.
Recently, Jacob Appelbaum pinged me and asked if it would be possible to make a Tor Bridge Relay client for the chumby One. Bridge relays are needed because policy-making entities can “filter” Tor by querying the list of public Tor exit and entrance nodes, and consequently direct the country’s internet authorities to block all Tor nodes. In other words, once you enter Tor, you have enhanced anonymity, but Tor itself has a clear and public footprint on the internet. Because of its well-defined footprint, someone with sufficient authority can “cut it out” by simply ripping out all of its connections to the rest of the world.
A Bridge Relay (or a bridge for short) “diffuses” the edges of Tor by adding another hop between a semi-secret distributed relay network and the public edge of Tor. Crossing the bridge requires getting a list of bridge relay nodes from a relay server that will only reveal a couple relay nodes at a time to a gmail email address, so as to foil regimes attempting to resolve the distributed relay network by simply repeatedly querying the relay server. However, the effectiveness of the bridge network is directly proportional to the number of devices that are serving as a relay. This is where you come in. A regime’s ability to determine the footprint of the bridge network is thwarted by having a large number of ordinary citizens around the world run bridges; in theory, a large and growing number of bridge nodes will keep Tor one step ahead of someone attempting to block Tor.
The chumby is a hackable linux device, with a sufficiently powerful CPU and just about enough memory to run a bridge. With the chumby One, it’s now cheap, too. And there’s a fair number of them out there. Which brings us back to Jacob. He emailed me about a week ago asking if it’d be possible to port Tor to chumby and run it in the background, and it certainly is. So, I’ve created a little “howto” guide on cross-compiling Tor for the chumby One, and I’ve even made a “no-touch” installer for Tor bridges on the chumby One (download and instructions). So, people who don’t have the time to build it from scratch can just download it and install it in just a few minutes using a USB dongle. Once it is installed, it will load every time at boot, even without the USB dongle in place; and, it can be quickly and fully removed by doing a factory reset. While Tor is running, I’ve noticed no performance degradation in widget playback, which is nice, but then again I’ve only been testing it for a day or so now. Again, the standard disclaimer — this blog does not represent chumby corporate, it’s my personal blog, so hacking your device to do this may void your warranty.
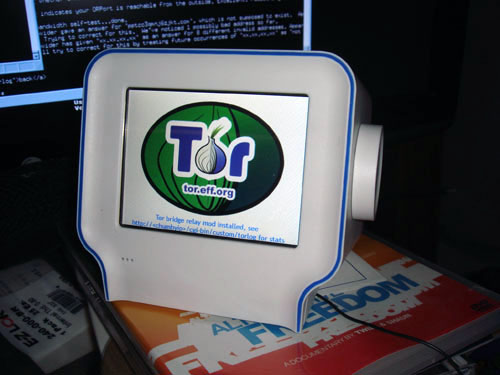
The no-touch install creates a swapfile on your chumby One, because the Tor client is just a wee heavy for the chumby without it. Note that swapfiles are hard on Flash memory, so you do run some risk of eventually wearing out the drive, but in my experience the swapfile hardly gets used. It also installs a cgi-script on your device so you can monitor the status of your Tor bridge, you can see a sample of what it looks like here. It does reveal a bit about what’s going on inside your chumby on a public web port, but this is all experimental stuff anyways; there are probably much better and more secure ways to do this. Being a hardware guy, my script-fu is only so good (but woe to the software guy who comes at me with a soldering iron), so the install scripts work, but need improvement; maybe someone out there can help with that.
This is a shout-out to my friends at 26c3. Wish I could be there with you in the hack center.